Create an installer
This section describes how to use ClickOnce, which is the technology that allows to creation PMApp installers. For further information, a complete description of ClickOnce use can be consulted at Quickstart deploy using Clickonce folder
Like other tools, ClickOnce can be used as a shell command, but it is easier to use Visual Studio wizard for publishing.
Publishing with ClickOnce
Initial considerations
To set an icon to the application you need to go to your solution, right-click in the project and select the Properties option. In the Application section, in the region Icon and Manifest select one icon at the dropdown.
![]()
PMApp applications have a version number that is showed at the bottom of the application window. This number differs from the version number that ClickOnce manages, so it is recommended to upgrade the PMApp number each time a new publication is done. This number can be changed doing double-click over the project to open the project file as a text, then edit the tag FileVersion.
    <PropertyGroup>
        <OutputType>WinExe</OutputType>
        <TargetFramework>netcoreapp3.1</TargetFramework>
        <UseWPF>true</UseWPF>
	    <FileVersion>0.0.0.1</FileVersion>
	    <ApplicationIcon>pm4h.ico</ApplicationIcon>
    </PropertyGroup>
Create a publish profile
Open the Visual Studio Solution.
In Solution Explorer, right-click the project and choose Publish.

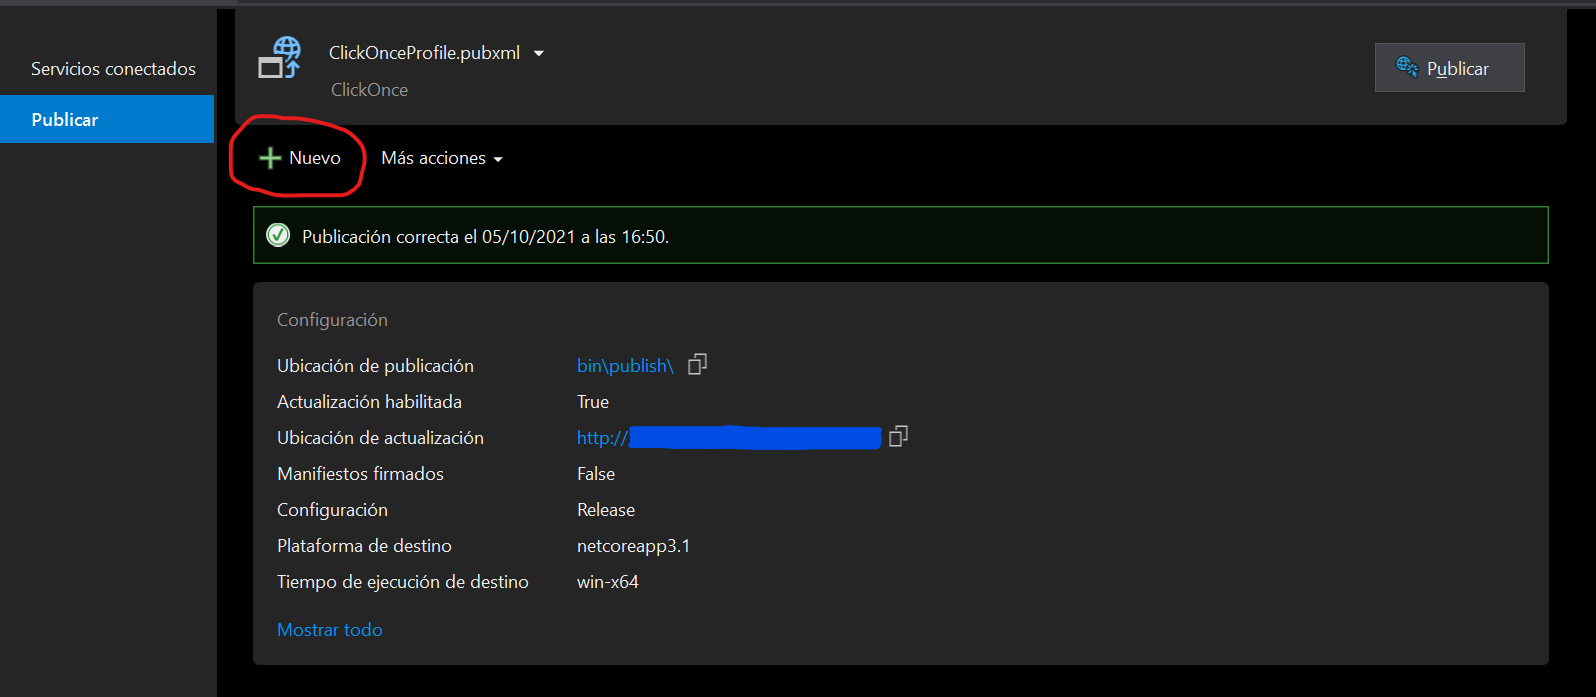
If there are previously configured publishing profiles, the Publish page appears and can be published using that profile. Instead, if it is the first time, can be created a profile by clicking New.
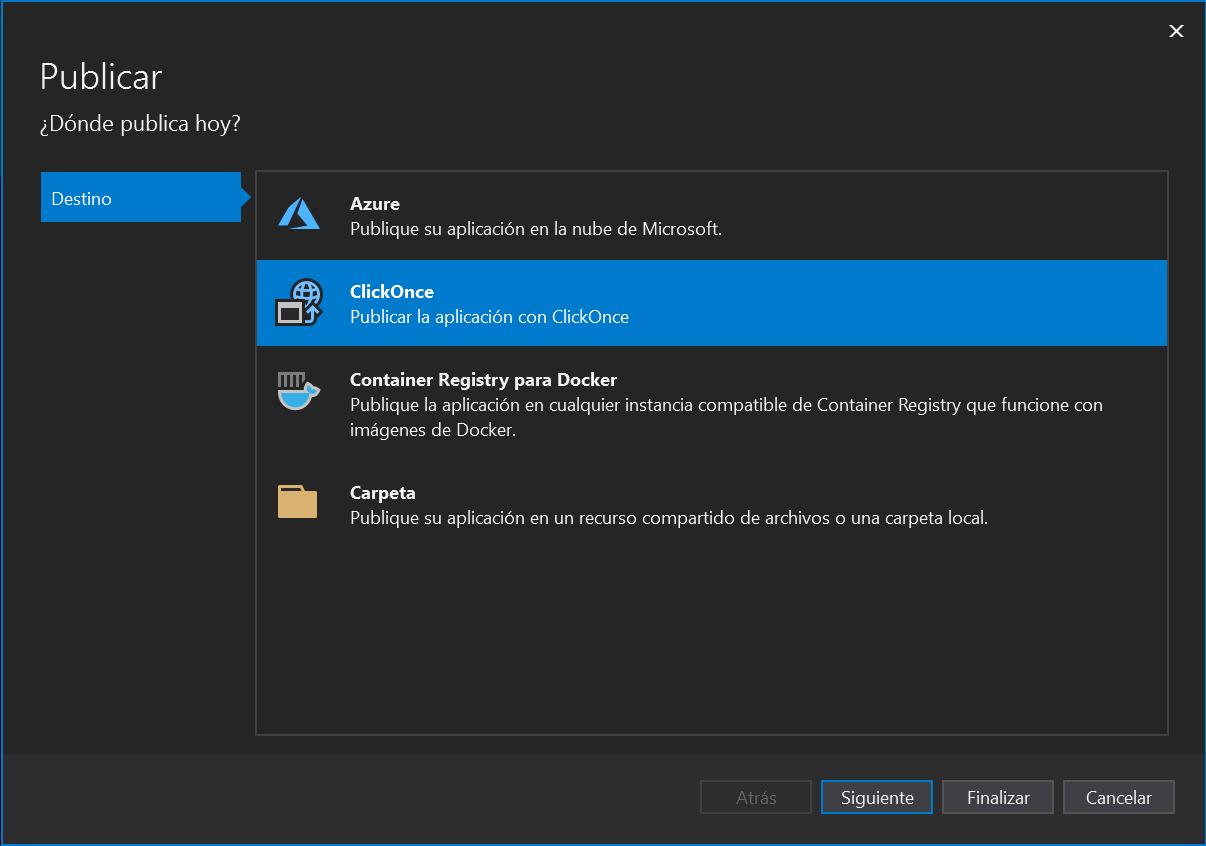
In the Target step select ClickOnce and click the Next button.
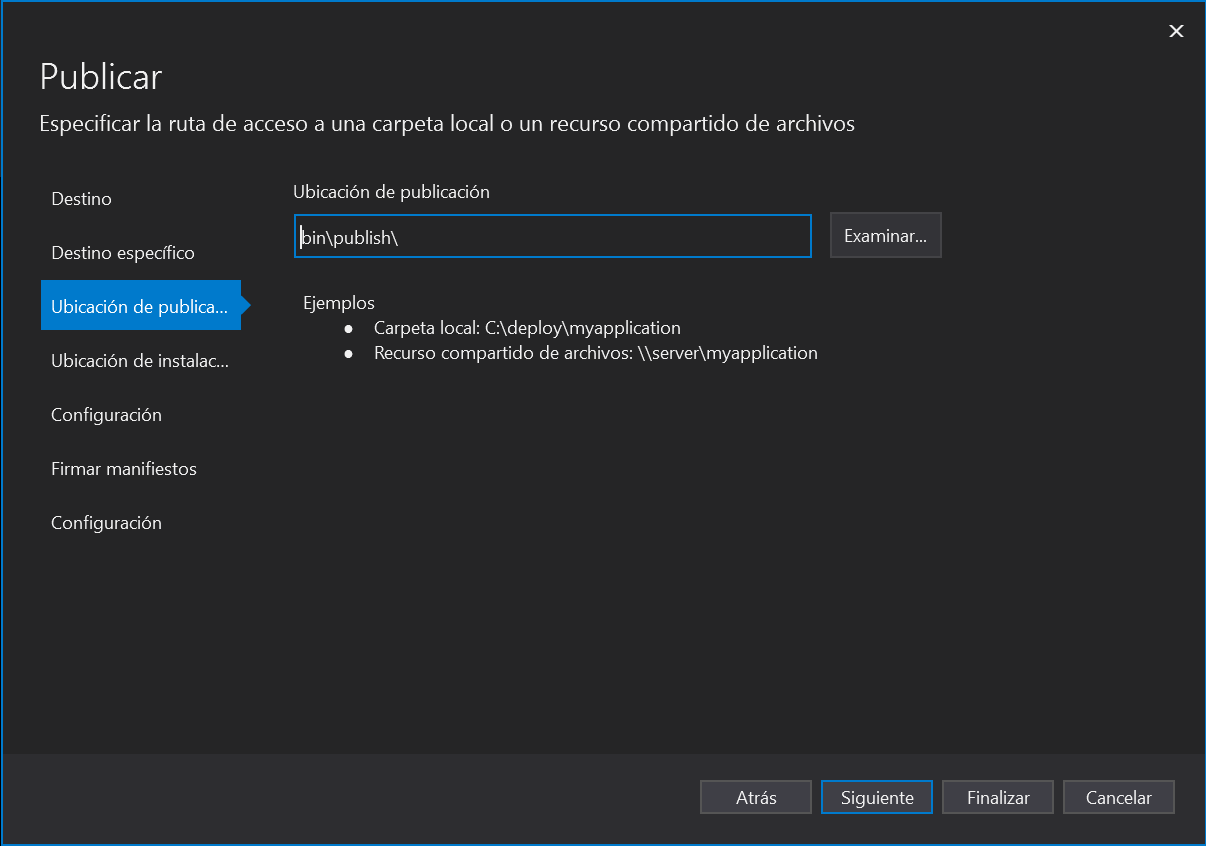
In the Publish location step type a path or click Browse to select a location where to leave the final installer. Click the Next button to continue.
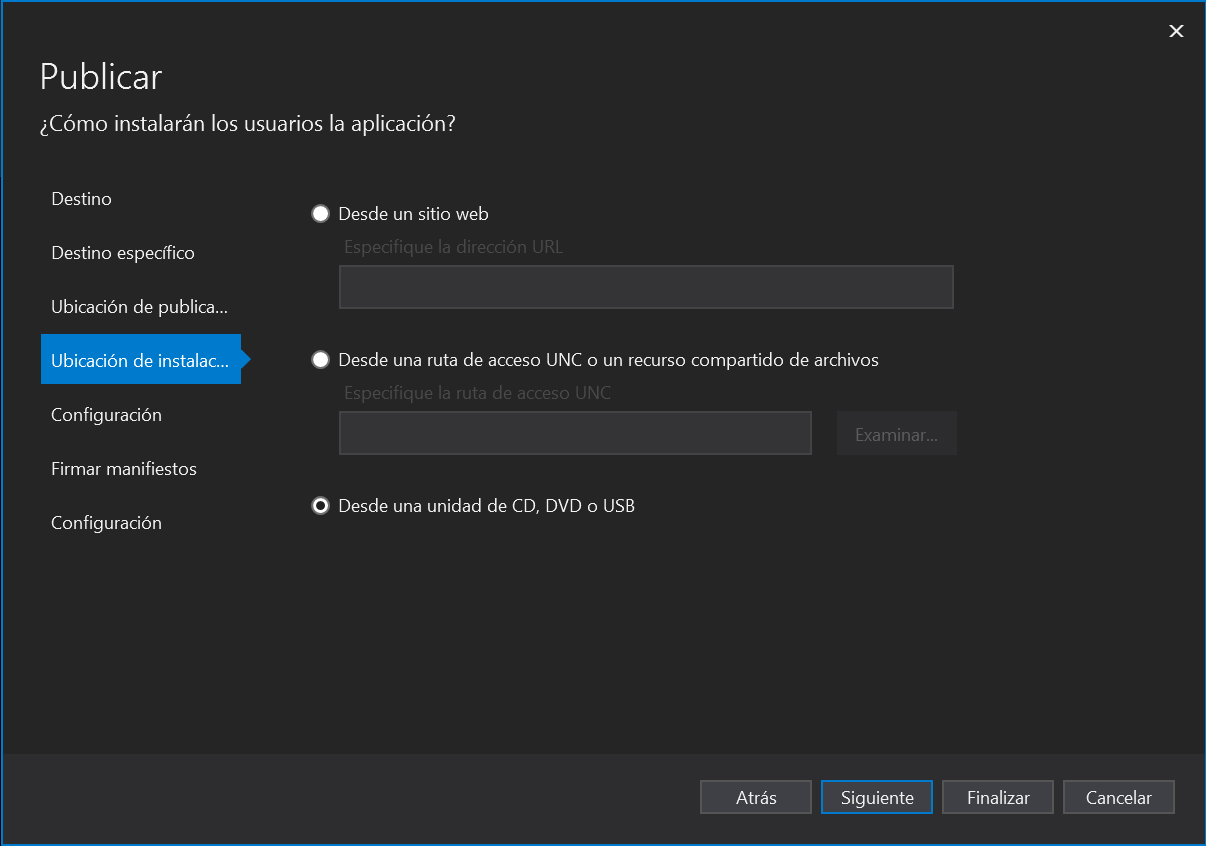
In the Install location step select From a CD, DVD, or USB drive option. Click the Next button to continue.
In the Settings step, must be checked Automatically check for updates from the following location and set the URL where ClickOnce upgrade versions will be.
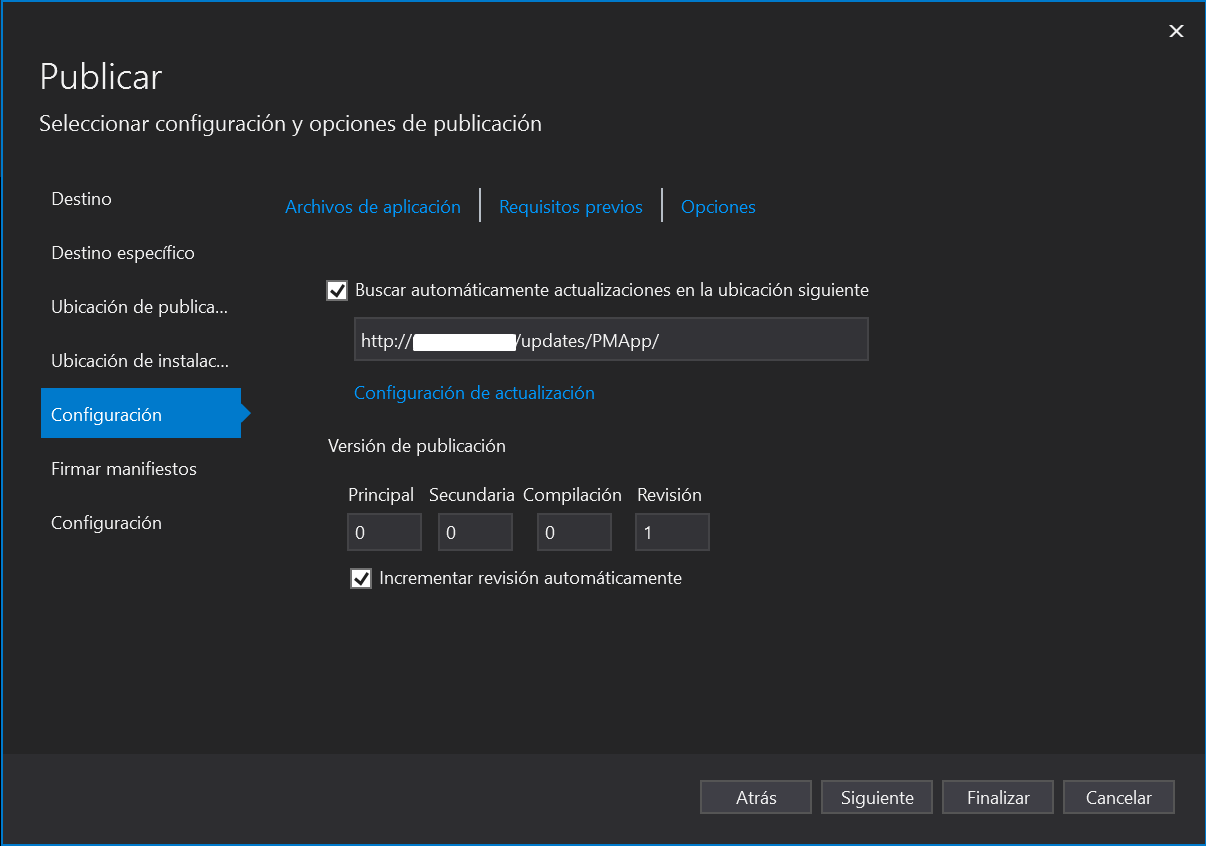
- In this case, there is a server to host PMApp internal projects and inside updates folder a different folder for each PMApp personalization. How to create that folder and upload files is explained in the next section Upload the new version. Url construction example:
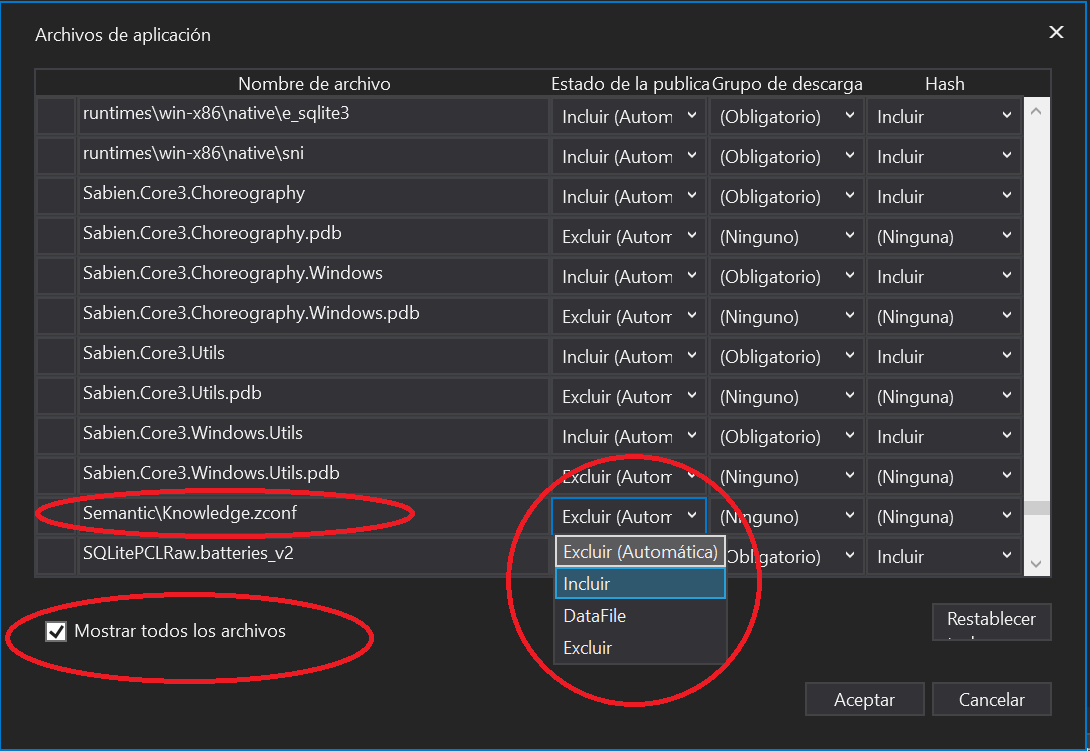
http://<PM4HLab_Server_IP>/updates/<PMApp_Personalization_Name>/. Also, it is needed to define an initial application version number and check Automatically increment revision. This increments the number each time a publication is done but can be selected manually if it is needed. - If there are extra files to be included in the application, these can be added by pressing Application Files. This shows a list of the files included automatically. If the file is not included in the list, it should be checked Show all files to search for it and select Include at the dropdown menu. In the next image, there is an example to include a file with semantic knowledge.
-
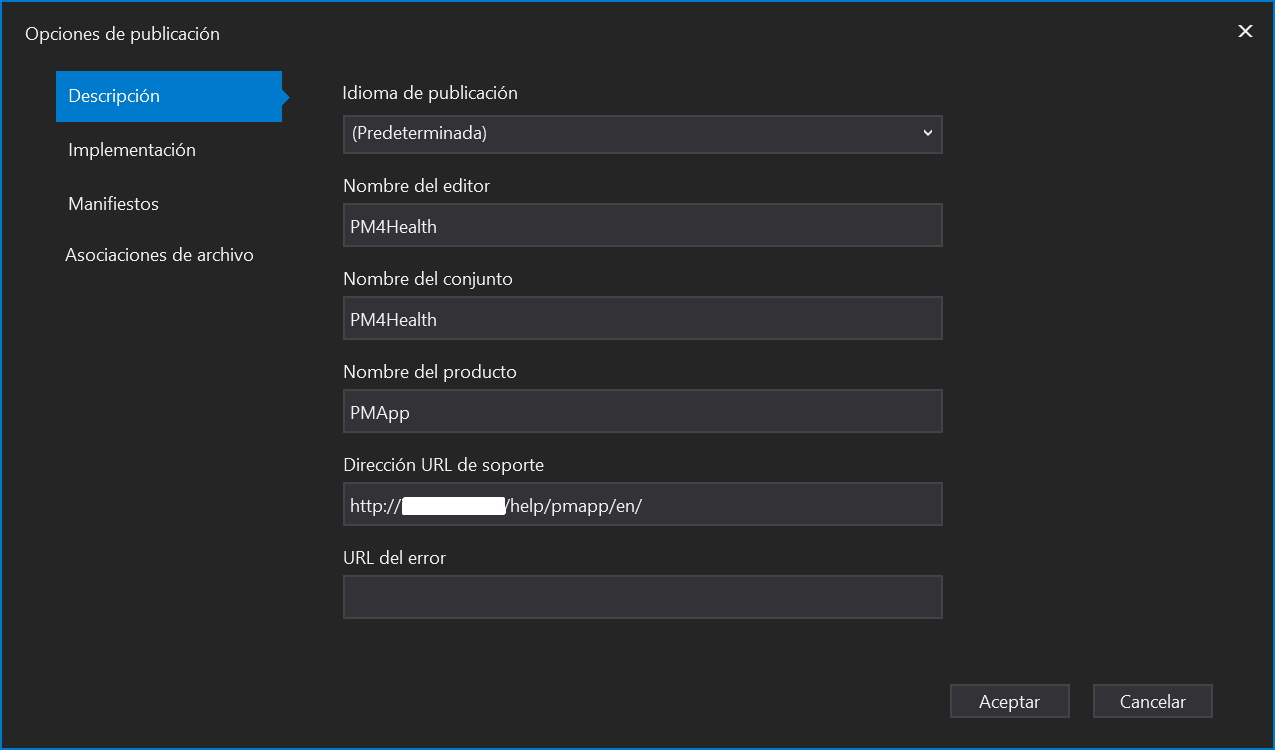
In the Options section should be added a description of the application.
-
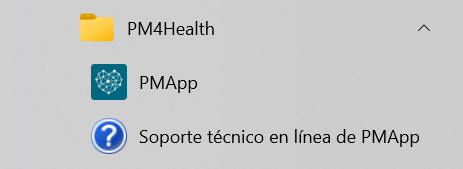
Publisher name will be used later as a folder at the Start menu to contain application shortcuts.
-
Product name will be used later as the application shortcut name.
-
If the Support URL is filled a shortcut to it will be created also at the Start menu folder.
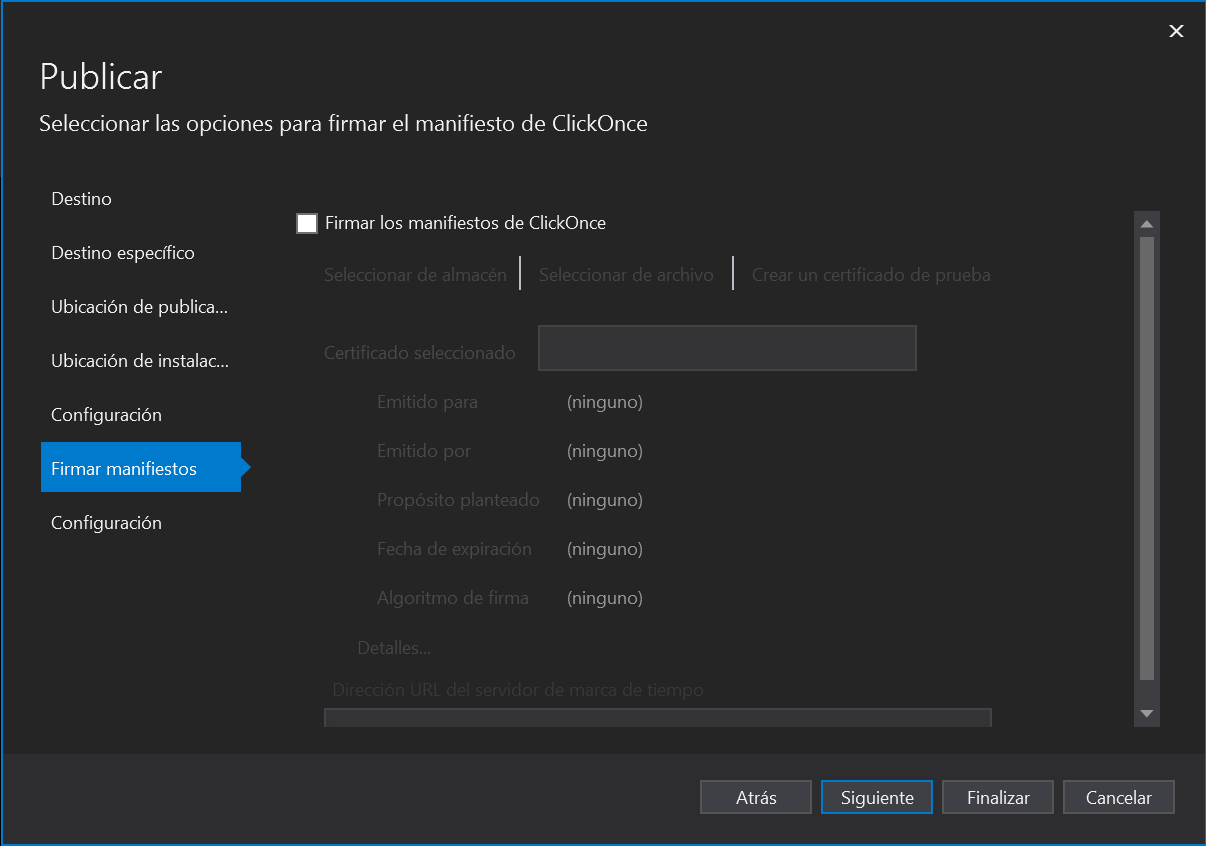
In the Manifest signing step click Next to not sign the application.
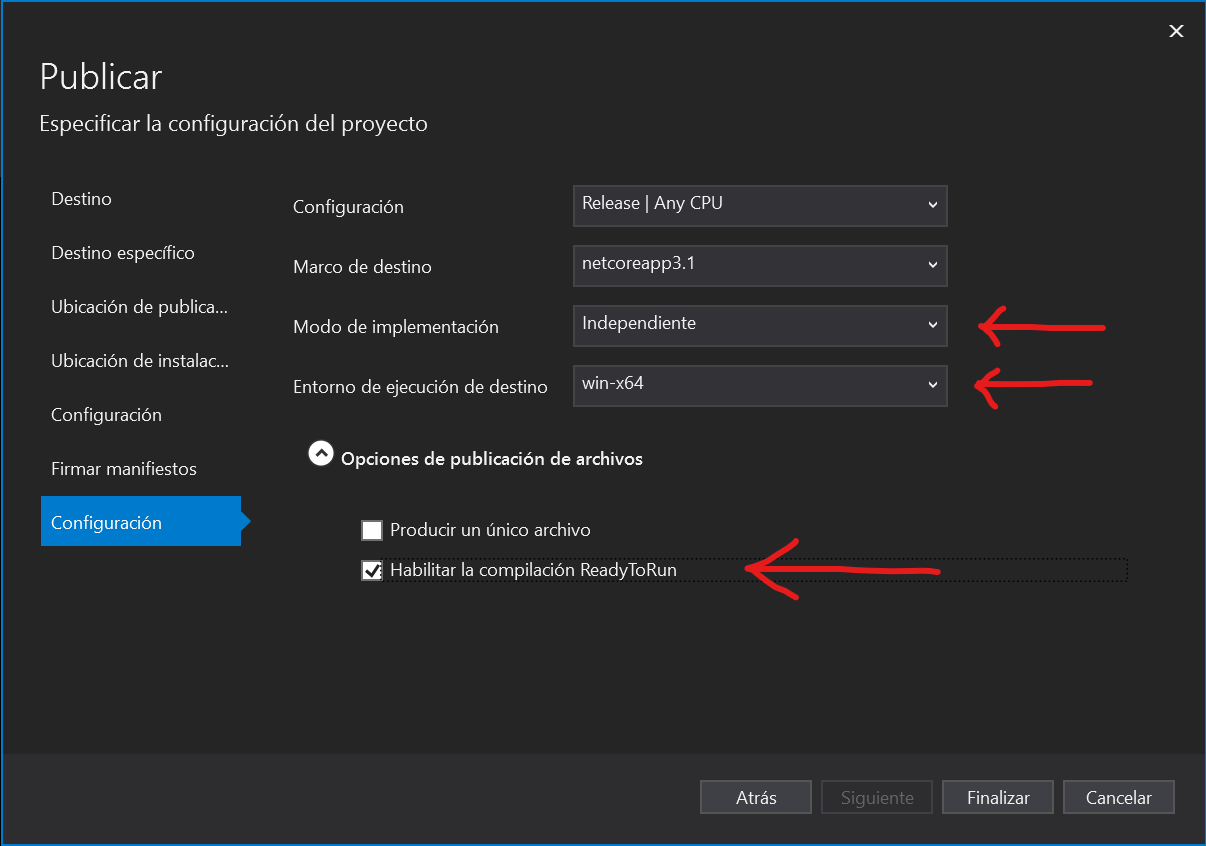
In the Configuration step, it should be changed the Implementation mode to Independent (this includes .net core framework in the installer), Execution framework to win-x64 and mark the checkbox Enable ReadyToRun compilation to speed up the application.
After press Finalize button the profile is ready and an application publication can be done by pressing Publish button.
In the publication folder is located all the files needed to be shared. The file Setup.exe executes the installer.
Upload the new version
To allow end-users to upgrade the application it is needed to upload these files to a web server. The next steps are for PM4Health lab workers.
-
Connect your professional VPN.
-
Connect to
\\\\<PM4HLab_Server_IP>\PM4H ClickOnce Weband create if not exist a folder for your application (If you do not have access contact the administrator). -
Copy all the published files to this new folder created. To do this you can use windows explorer or use Robocopy console command. Next command copy all new files to the server
robocopy "<Your_Folder_Path>\bin\publish" "\\<PM4HLab_Server_IP>\PM4H ClickOnce Web\<Your_App_Folder>" /e /xo /im /mt